Make DIY gift bags for a unique presentation
A surprising gift deserves a unique look that immediately stands out. For many retailers in Central Europe, creating a personalized gift bag is a clever way to differentiate their products and surprise customers. With simple materials and a little creativity, you can transform ordinary packaging into true eye-catchers. Discover in this step-by-step guide how to add extra value and flair to any gift with a DIY gift bag .
Table of contents
- Step 1: Gather the materials you need for gift bags
- Step 2: Design and cut the basic shape of the bag
- Step 3: Carefully fold and glue the gift bags
- Step 4: Decorate and personalize the gift bag
- Step 5: Check the quality and strength of the bags
Quick Summary
| Important Point | Explanation |
|---|---|
| 1. Gather quality materials | Use sturdy paper and decorations that fit the occasion for a beautiful result. |
| 2. Accurate dimensions are crucial | The paper should be twice as wide and 1.5 times as long as the gift for the best fit. |
| 3. Ensure neat folds and seams | Use a ruler and double-sided tape for sharp folds and strong connections. |
| 4. Personalize your gift bag | Decorate with ribbon, stickers, and personal messages to make your bag unique. |
| 5. Check firmness before use | To avoid disappointment, test the bag for seam strength and carrying capacity. |
Step 1: Gather the necessary materials for gift bags
Creating unique gift bags starts with gathering the right materials. You can easily get started with materials you probably already have at home or can easily find.
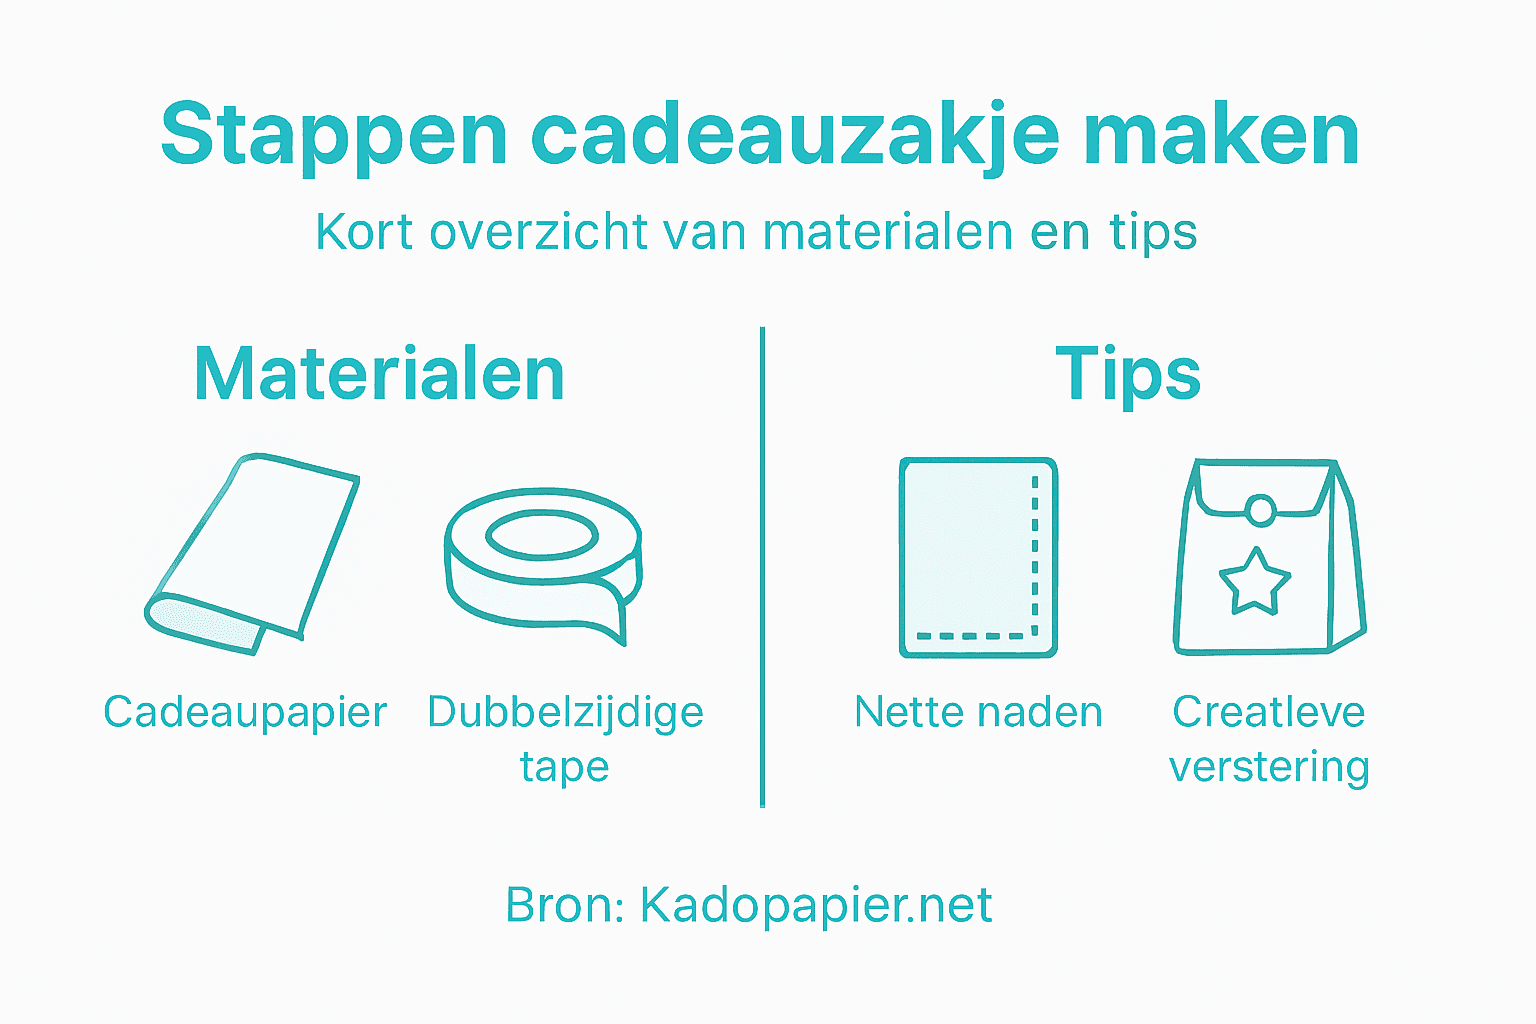
To make a great DIY gift bag, you'll need the following basic materials:
- A basic paper bag or leftover wrapping paper
- A sturdier piece of paper for handles
- Double-sided tape or glue
- Pair of scissors
- Decorative elements such as ribbon, stickers or punches
When gathering your materials, it's important to pay attention to the quality and thickness of the paper. Choose paper that's a bit sturdier than standard printing paper to ensure your bag stays sturdy.
Also consider the color and style of your materials. Choose paper that suits the occasion or the gift recipient. A birthday, for example, calls for different shades than a wedding or business gift.
Please note: The quality of your materials largely determines the end result of your homemade gift bag.
Pro tip: Save leftover wrapping paper and decorative materials – they'll come in handy later when creating unique gift wrapping.
Step 2: Design and cut the basic shape of the bag
After gathering your materials, you'll now design and cut out the basic shape of your gift bag. This is the crucial step, creating the perfect dimensions and shape for your unique packaging.
Correct dimensions are essential for a professional result. Choose a piece of paper that is twice as wide as your gift and at least 1.5 times as long. The paper must be sturdy enough to hold its shape.
Here are the main steps for designing and cutting:
- Lay the paper flat on a cutting mat
- Measure the dimensions of your gift accurately
- Draw light pencil lines as guides
- Use sharp scissors or a cutting knife for straight edges
Folding technique is crucial when making your bag. The base is formed by carefully folding and attaching the sides. Note the following details:
- Ensure straight, crisp folds
- Use a ruler to make sharp fold lines
- Check that the sides are symmetrical
The precision of your folds determines the final quality of your gift bag.
Pro tip: Use double-sided tape instead of glue for neater, stronger seams.
Step 3: Carefully fold and glue the gift bags
After preparing your basic shape, you'll now move on to the precise folding and gluing of your gift bag. This is the stage where your bag takes on its final shape and stability.
Correct folding and gluing are crucial for a professional final result. When folding, pay attention to the following details:
- Fold the sides straight and tight
- Ensure sharp, straight fold lines
- Check the symmetry of your folds
When gluing the seams, there are some important points to consider:
- Use double-sided tape for a neater finish
- Press the seams firmly for good adhesion
- Avoid bubbles or wrinkles in the seams
Seam technique plays a crucial role in the strength of your gift bag. Note:
- Use the correct glue or tape
- Carefully cover all edges
- Allow sufficient drying time for the pre-glue
The quality of your seams determines the durability of your gift bag.
Pro tip: Use a tube or bottle to make the seams tight and smooth as you fold.
Step 4: Decorate and personalize the gift bag
After carefully folding and gluing your gift bag, it's time to add your own personal touch. By decorating the bag, you can transform standard packaging into a unique work of art.
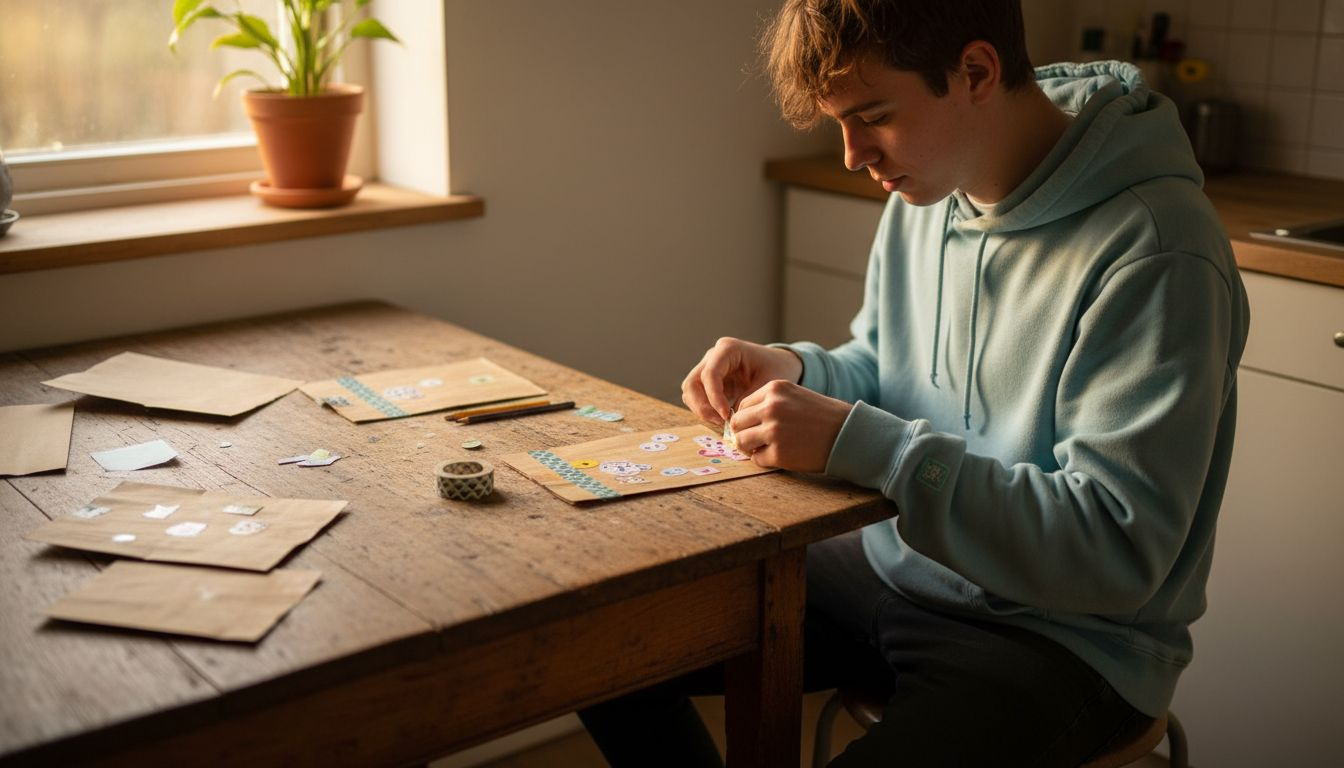
Decorate your gift bag with various materials like scrapbook paper, ribbon, stickers, and small accessories. The possibilities are endless and depend on the occasion and the recipient's taste.
Here are some great decorating techniques:
- Use colored washi tape for a playful effect
- Stick small decorative stickers along the edges
- Attach a handmade label with a personal message
- Decorate with glittering adhesive beads or small buttons
When personalizing you can choose from different styles:
Here's a comparison of gift bag personalization styles:
| Style | Suitable for | Use of color | Characteristic decorative element |
|---|---|---|---|
| Minimalist | Business events | Neutral tones | Subtle labels |
| Festive | Birthdays | Bright, cheerful colors | Ribbon and prints |
| Elegant | Weddings | Gold or silver | Chic adhesive pearls |
| Playful | Children's gifts | Bright contrasts | Child-friendly stickers |
- Minimalist with neutral tones
- Festive with cheerful patterns
- Elegant with gold or silver accents
- Playful with child-friendly decorations
Your gift bag is more than just packaging – it's a first impression of your gift.
Pro tip: Choose decorative materials that complement each other and enhance the ambiance of your gift.
Step 5: Check the quality and strength of the bags
After creating your unique gift bag, the final crucial step is thoroughly checking its quality and sturdiness. A well-inspected bag prevents disappointment during use.
Test the strength of your gift bag by filling it and assessing its construction. Pay attention to a few key aspects:
- Check all seams for strength
- Test the handle by applying light pressure
- Check for cracks or weak spots
- Fill the bag with a weight comparable to your gift
There are some specific points of attention during quality control:
- Check the glue connections
- Note the tightness of the folds
- Look at the overall shape of the bag
- Test the load capacity
Important checkpoints for a perfect gift bag:
- No loose threads or frayed edges
- Symmetrical shape
- Sturdy construction
- Smooth surface
A well-inspected gift bag is the calling card of your creativity.
Pro tip: Keep a few sample bags to keep improving your technique.
The table below summarizes which materials are essential for each step of making a gift bag:
| Step | Indispensable material | Why important? |
|---|---|---|
| Basic cutting | Sturdy paper | Shape retention and strength |
| Folding | Ruler | Tight folds |
| Gluing | Double-sided tape | Neat and sturdy seams |
| Decorate | Ribbon or sticker | Personal appearance |
| Check | Weight as test load | Check on load-bearing capacity |
Give your homemade gift bags an extra shine with the right materials
Making DIY gift bags requires careful preparation and the right choice of materials. This article clearly demonstrates that the strength of the paper, neat seams, and a personal touch are the foundation for a beautiful end result. We understand that finding high-quality wrapping materials can be a challenge when you want to make your gift bags truly unique and sustainable.
At Kadopapier.net, we offer a wide range of packaging materials and accessories that perfectly complement the steps in your creative process. Whether you're looking for sturdy wrapping paper, double-sided tape for neat seams, or stylish ribbons and stickers for a personal touch, our high-quality products help you finish every bag professionally and stylishly. Don't wait any longer and discover how easy it is to enhance your homemade gift bags with the right materials.
Browse our selection at Kadopapier.net today and find exactly what you need to make an impression. This way, you'll ensure your creative packaging is always sturdy, stylish, and unique.
Frequently Asked Questions
What do I need to make my own gift bags?
To make your own gift bags, you'll need a basic paper bag or wrapping paper, sturdy paper for handles, double-sided tape or glue, scissors, and decorative elements like ribbon or stickers. Gather these materials before you start making your bags.
How do I determine the correct dimensions for my gift bag?
The correct dimensions for your gift bag are crucial. Make sure the piece of paper is twice as wide as your gift and at least 1.5 times as long. Measure carefully and draw light pencil lines as a guide.
Which decorating techniques are suitable for gift bags?
There are various decorating techniques you can use, such as applying washi tape, stickers, or handmade labels. Choose decorations that suit the occasion and the recipient to create a personal touch.
How can I test the strength of my gift bag?
Test the strength of your gift bag by filling it and checking its construction. Pay attention to the seams, the symmetry of the bag, and the overall shape to ensure it's sturdy enough.
Which glue is best for making gift bags?
When making gift bags, it's best to use double-sided tape, as this ensures a neat and secure finish to the seams. This prevents bumps and gives your bag a professional look.
How can I best personalize my gift bag?
You can personalize your gift bag by combining different materials, such as ribbon, stickers, and handwritten labels. Consider the recipient's style and the occasion to create a unique look.