Packaging tips for small products: creative and practical 2026
Packing small products seems simple, but many consumers and hobbyists struggle with damaged items, oversized boxes, and unnecessary shipping costs. Choosing the right packaging makes the difference between a professional presentation and disappointed recipients. This guide shows you how to pack small products creatively, sustainably, and cost-effectively with practical DIY ideas and smart material selection tips that fit within letterbox dimensions.
Table of contents
- Key packaging tips for small products
- Choosing the right packaging material for small products
- Create creative and sustainable gift packaging with recycled and transparent paper
- Personalize and add unique details to small gift packaging
- Discover high-quality packaging materials and accessories
- Frequently asked questions about packaging tips for small products
Key packaging tips for small products
| Point | Details |
|---|---|
| Compact packaging | Use custom-made packaging that fits within letterbox dimensions for lower shipping costs. |
| Sustainable gift bags | Create creative bags with recycled paper and transparent materials for a unique look. |
| Personalization | Add natural elements and handwritten details to increase the value by 15-20% |
| Avoid oversized boxes | Choose the correct size to avoid extra costs and damage during transport. |
| DIY gift envelopes | Easily create personalized packaging with basic materials for an authentic touch. |
Choosing the right packaging material for small products
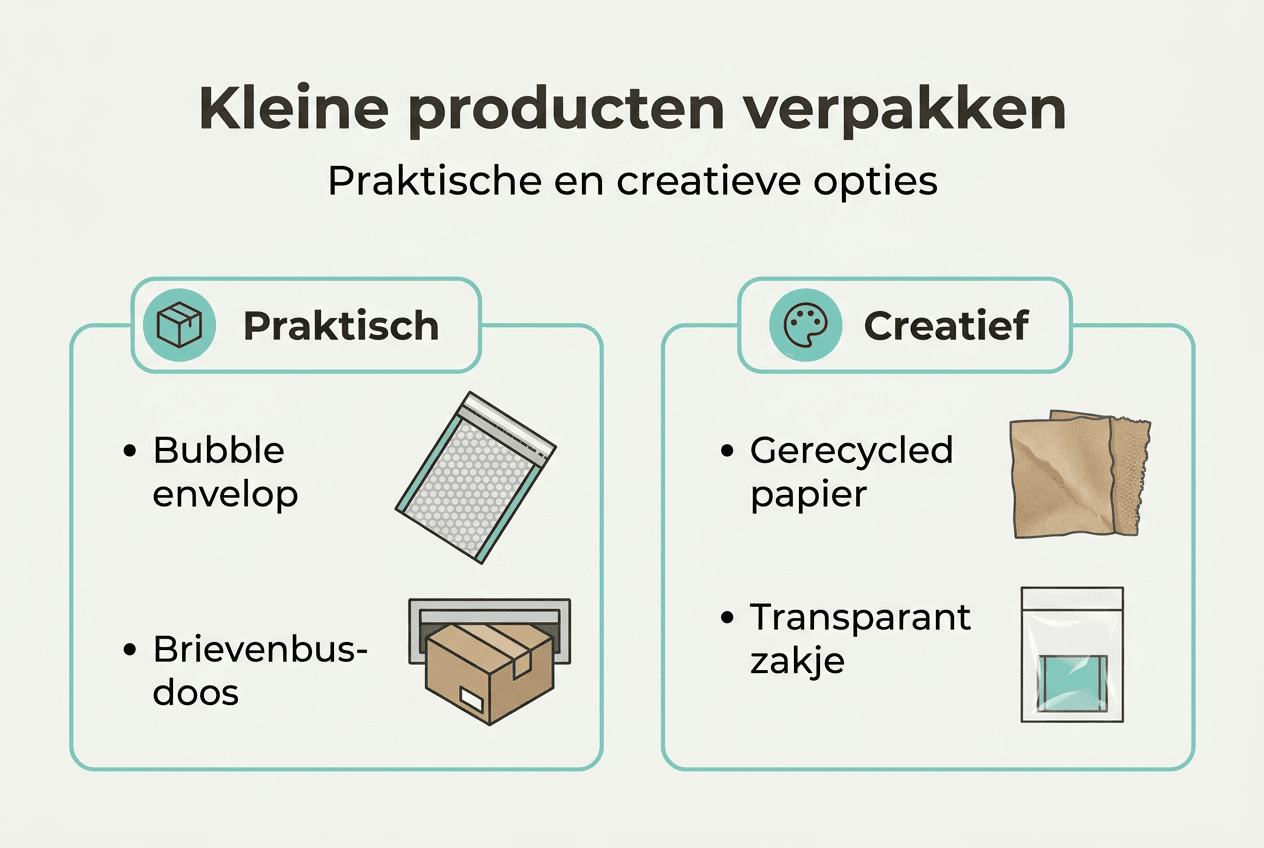
Selecting suitable packaging material determines whether your product arrives safely and whether your shipping costs remain within limits. Letterbox mail has strict dimensions: a maximum of 38 cm long, 26.5 cm wide, and 3.2 cm thick, which means your packaging must fit precisely without wasting space. Optimal packaging for small products requires a balance between protection, cost, and dimensions to stay within these restrictions.
Bubble envelopes work excellently for light, non-breakable items such as jewelry, USB sticks, or small clothing items. They offer basic shock protection and are lighter than boxes, which reduces shipping costs. Letterbox boxes provide more protection for fragile items such as ceramics or electronics, but you must accurately measure the product size to choose the correct box dimensions. A 5 cm product in a 10 cm box requires extra padding material, which increases weight and costs.
Oversized packaging is a common mistake that has a direct impact on your wallet. The choice of packaging material significantly influences both costs and the level of protection. A box that is 2 cm too large can be upgraded from letterbox mail to parcel post, which easily costs an extra 3 to 5 euros per shipment. Furthermore, the product moves around more inside the packaging, increasing the risk of damage during transport.
| Material type | Protection level | Weight | Best for | Costs |
|---|---|---|---|---|
| Bubble envelope | Average | Light | Jewelry, textiles, paper products | Low |
| Mailbox | High | Average | Fragile items, electronics | Average |
| Cardboard envelope | Low | Very light | Flat items, cards, stickers | Very low |
| Organza bag | Low | Very light | Gift packaging, non-breakable decoration | Low |
Pro tip: always measure your product with a ruler before ordering packaging and add a maximum of 0.5 cm of space per side for filler material; this prevents you from accidentally choosing packaging that is too large and wasting money on unnecessary shipping costs.
For those looking for budget-friendly packaging ideas , consider reusable materials such as kraft paper or recycled boxes. These options cost less and provide a handcrafted look that consumers appreciate. Always test your packaging by shaking it lightly; if you hear the product move, add more filler material or choose a smaller package.
Create creative and sustainable gift packaging with recycled and transparent paper
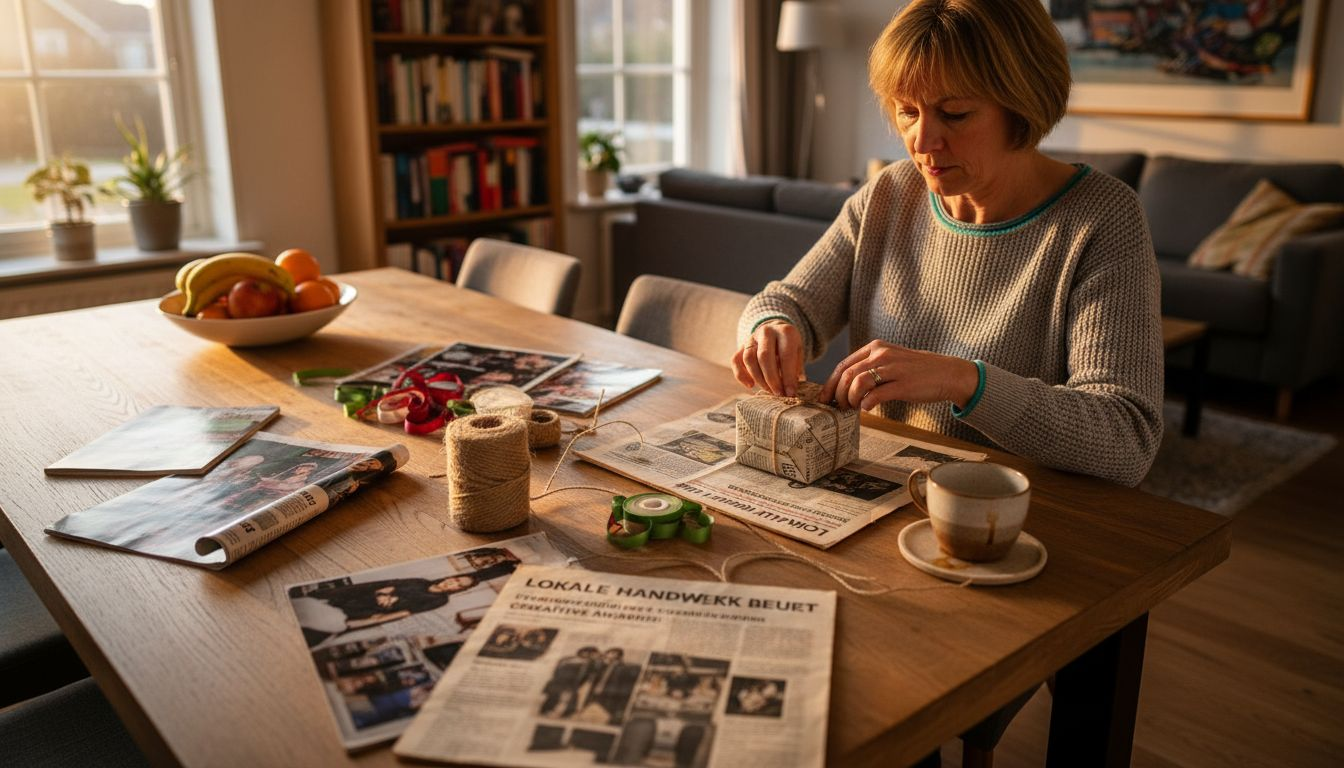
Making your own gift bags gives you complete control over dimensions, style, and sustainability while saving money. DIY gift bags made from recycled paper offer a sustainable and cost-effective packaging solution that is perfect for small products. You only need scissors, a needle, thread, and paper to create professional-looking bags that you can fully personalize.
Follow these steps to make your own gift bags:
- Cut your paper to size, measure the product, and add 4 cm to each side for seams and space.
- Fold the paper in half with the printed or right side facing inwards.
- Sew or glue the sides shut, leaving the top open for filling.
- Fold the bottom inwards and sew or glue it in place for extra sturdiness.
- Turn the bag inside out so that the nice side is now visible.
- Fill the bag with your product and close it with ribbon, string, or stickers.
Old newspapers provide a vintage look that works perfectly for artisanal products or handmade items. Magazine pages with colorful photos create vibrant pouches that stand out, especially if you choose pages that match the theme of your gift. Book pages from damaged or unwanted books add a literary charm that book lovers appreciate.
The use of transparent paper adds a stylistic element to gift bags. Parchment paper provides a chic, clear look that allows the recipient to catch a glimpse of the gift without fully revealing it. This works particularly well for colorful or visually appealing products such as soap, candy, or small decorations. The semi-transparency creates a sense of mystery that heightens the anticipation upon unwrapping.
Pro tip: use a sewing machine with a straight stitch to speed up the making process; set the stitch length to 3 mm for sturdy seams that won't tear during normal use. This saves you 60% of the time compared to sewing by hand.
For various types of paper and their specific applications, check out 7 types of tissue paper and gift shop applications to learn which paper types work best for your specific packaging needs. Experiment with different combinations of recycled and sheer paper to create unique effects that reflect your brand or personal style.
You can find more inspiration for creative packaging solutions in 7 smart DIY packaging tips for every project , where you learn techniques for various product types and occasions.
Personalize and add unique details to small gift packaging
Personalization transforms standard packaging into a memorable gift that adds emotional value. Adding natural elements increases perceived value by 15-20%, meaning recipients experience your gift as more valuable and thoughtful. Dried flowers, sprigs of rosemary, lavender, or eucalyptus provide an organic charm that artificial decorations cannot match.
| Aspect | Standard packaging | personalized packaging |
|---|---|---|
| Perceived value | Basic | 15-20% higher |
| Emotional impact | Neutral | Strongly positive |
| Time investment | 2 minutes | 5-8 minutes |
| Costs | €0.50-1.00 | €0.75-1.50 |
| Recallability | Low | High |
Personalized packaging is rated as 25% more thoughtful by recipients, showing that small details have a huge impact on how people appreciate your gift. Hand-painted designs with watercolor or acrylic markers make every package unique. Simple patterns such as dots, stripes, or abstract shapes require no artistic skills but do provide a handcrafted look.
Handwritten messages on labels or directly on the packaging add a personal dimension that printed text cannot replicate:
- Write the recipient's name in calligraphy or your own handwriting on the front.
- Add a short message such as “Made especially for you” or “Packed with love”
- Use colored pens or markers that contrast with your paper color for readability.
- Draw small illustrations such as hearts, stars, or flowers around the text
You can securely attach natural elements by first wrapping the stem or leaf in a small piece of florist tape or washi tape. Then, stick this to the packaging with double-sided tape, not directly to the product itself. This prevents oils, moisture, or loose particles from the natural decoration from damaging the product. For brittle dried flowers, first spray a light layer of hairspray over the flower to stabilize it before attaching it.
The best gift wrapping tells a story before the gift is even unwrapped; it creates anticipation and shows how much care you have put into every detail of the presentation.
Pro tip: always attach natural elements at the last moment before giving the gift, especially in humid or warm conditions; this preserves freshness and prevents flowers or leaves from discoloring or wilting on the packaging.
For seasonal inspiration, discover festive wrapping ideas that help you create themed packaging for various occasions. Also, learn how to create original, store-level gift wrapping presentations using professional techniques that you can easily apply at home.
Avoid using fresh flowers or leaves unless you are giving the gift within a few hours, as they wilt and release moisture that can damage the paper. Always choose fully dried natural elements for long-lasting presentation and stability.
Discover high-quality packaging materials and accessories
After learning these practical and creative packaging techniques, you will find all the materials at Kadopapier.net to turn your ideas into reality. The assortment includes luxury ribbons such as red organza ribbon that creates perfect bows and gives an elegant finish to any package. For stylish presentation, the webshop offers elegant brown organza pouch options that professionally package small products with a natural, earthy look.
The products support all your creative packaging projects, from simple gift bags to complex personalized presentations. You can order easily online and benefit from fast delivery, so you always have the right materials on hand for spontaneous gift-giving moments. Visit Kadopapier.net for the complete range of packaging materials, decorations, and accessories that transform your small products into unforgettable gifts.
Frequently asked questions about packaging tips for small products
Which packaging materials are best for fragile small products?
Fragile items require mailbox boxes with at least 2 cm of padding on all sides; use bubble wrap or shredded paper as padding. Avoid bubble envelopes for items that might break under pressure; always choose sturdy cardboard boxes that do not bend.
How do I ensure my packaging fits in PostNL letterbox mail?
Measure your packaged product and check that it is no larger than 38 cm long, 26.5 cm wide, and 3.2 cm thick. Weigh the package to confirm that it remains under 2 kg; otherwise, it automatically falls into the more expensive parcel post category.
What are easy DIY gift wrapping ideas?
Make simple pouches by folding kraft paper in half and stapling or gluing the sides shut. Wrap small items in tissue paper and tie them with natural twine, add a dried flower or twig for instant charm without complex techniques.
How do I personalize my gift wrapping without spending a lot?
Write directly on the packaging with a colored marker, use stamps you already have, or draw simple patterns with a pen. Collect free natural elements such as pine cones, twigs, or leaves from your garden for unique decoration that costs nothing.
Which natural elements are suitable for gift wrapping and how do I attach them securely?
Dried lavender, rosemary, eucalyptus, and statice remain beautiful for weeks without wilting. Attach them to the packaging with double-sided tape after wrapping the stem in florist tape; this prevents oils or moisture from damaging the paper and holds the decoration securely.
Can I use old magazines and newspapers for sustainable gift wrapping?
Absolutely, glossy magazine pages with colorful images make visually appealing pouches that are sturdy enough for lightweight products. Newspaper provides a rustic look and works perfectly for artisan or vintage-style gifts; both options are completely free and eco-friendly.
For extensive DIY techniques and more creative solutions, check out 7 smart DIY packaging tips where you will find step-by-step instructions for various packaging scenarios and product types.